The View is the Point: Railing at The Perch at Pinhoti Peak
The View is the Point: Railing at The Perch at Pinhoti Peak
Guest blog by Chip Wade
TV Personality | Builder | Designer
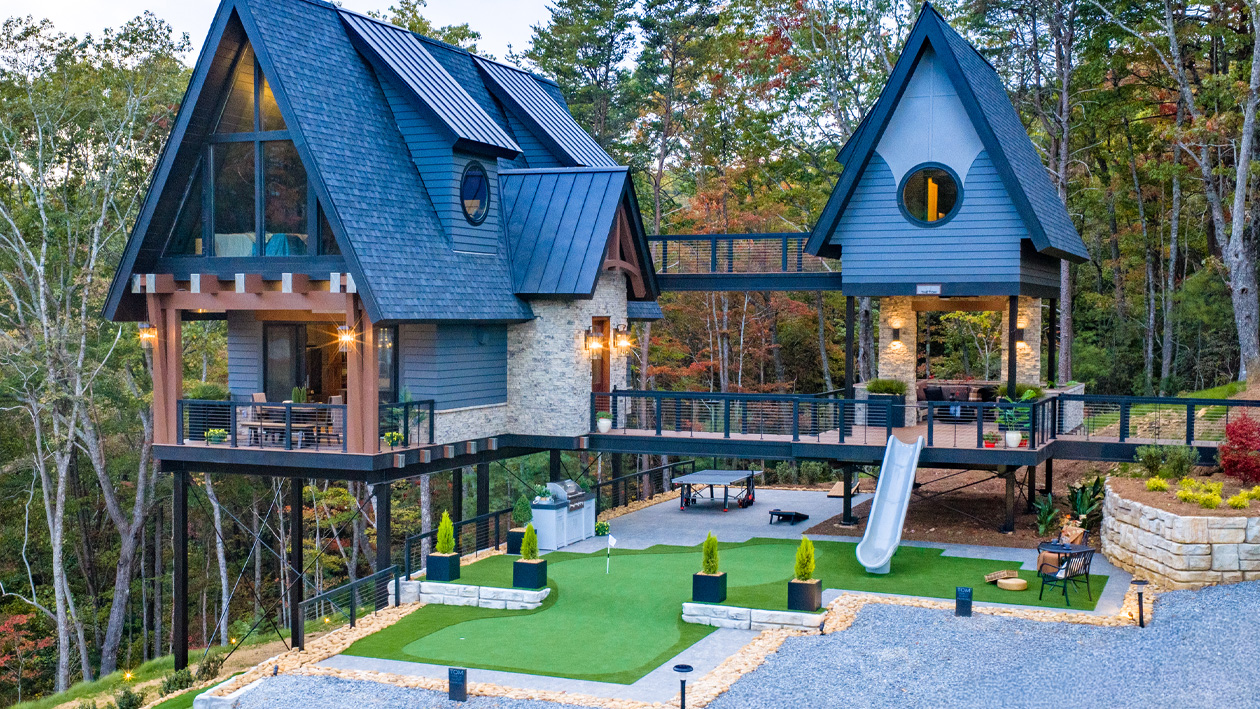
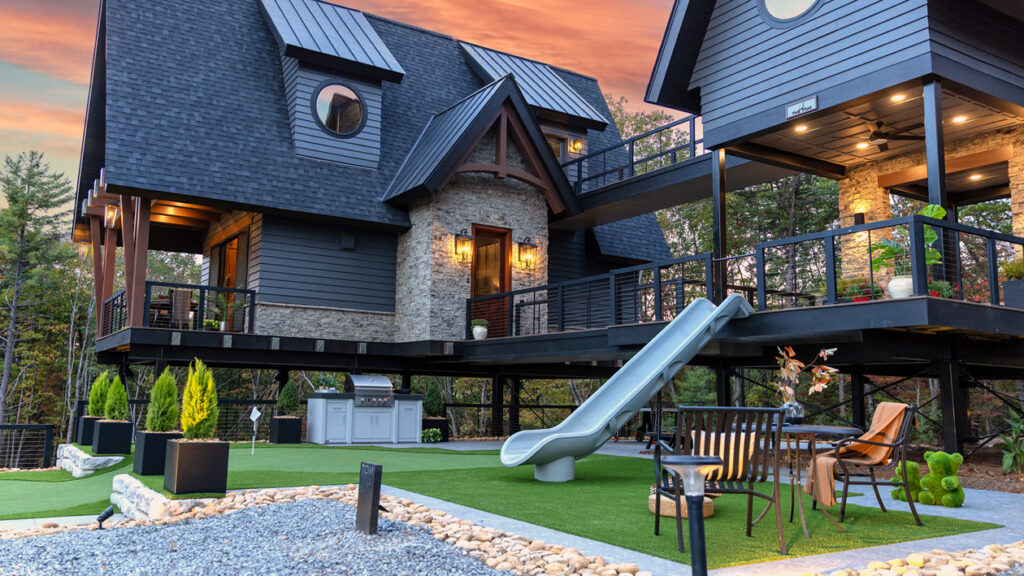
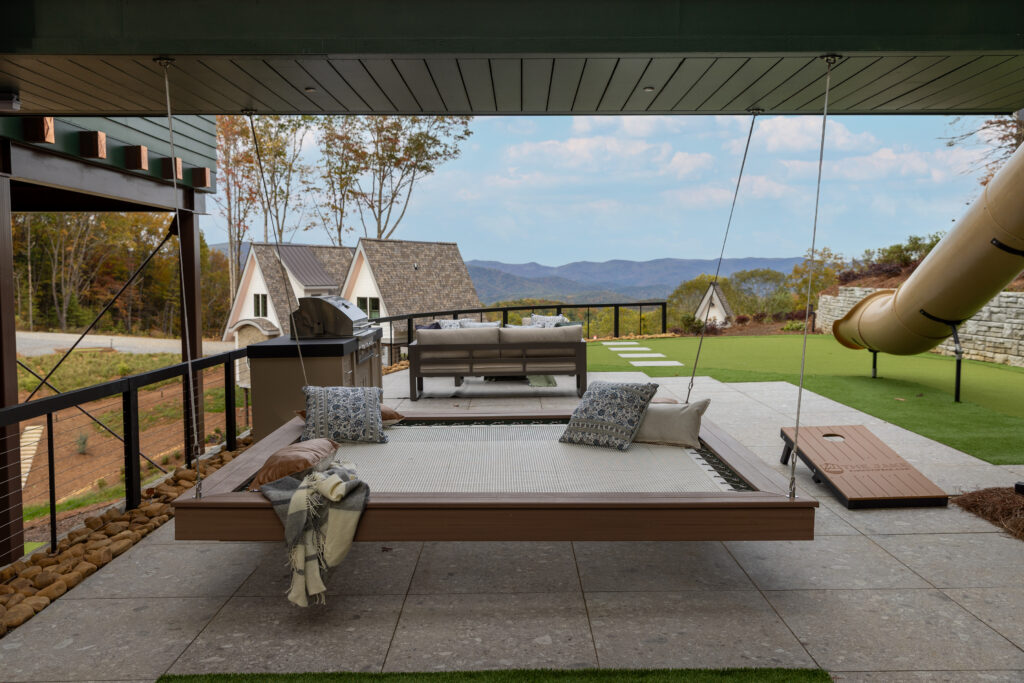
When you design a project in the mountains, you learn quickly what matters most: the views, the experience, and the feeling of total confidence under your feet. That’s what The Perch at Pinhoti Peak is all about.
This nest of treehouse-inspired retreats is a collection of elevated structures, designed to feel whimsical and aspirational, but engineered to be rock-solid. When you’re standing high above grade, you don’t want to think about safety. You want to trust it completely… and get back to enjoying the scenery.
That’s why, from day one, railing was top of mind.
Railing isn’t an afterthought, especially when you’re building in the air
Let me say this as clearly as I can: nothing is worse than a weak rail. It ruins the experience, visually and physically. And on a project with elevated decks and skybridges, it’s not just a “nice-to-have.” It’s a defining architectural element.
From a design standpoint, railing becomes part of the stance of the house. It shapes the silhouette. It influences how modern or classic the design reads. It frames what you see from the deck out… and what you see from the driveway. And when we use railing both inside and outside (which we often do), it becomes part of the full design language, not a bolt-on detail. It goes on the mood board from the get-go and often informs the selection of other materials—decking, veneer, paint colors, roofing.
That decision becomes a compass for everything else.
Railing goals at The Perch: blend in, hold strong
With a project like this, so much of the exterior is why you’re there. It’s about the views. So, the railing approach had to check three boxes:
- Visually non-obtrusive (let the forest be the feature)
- Structurally bulletproof (no compromise, ever)
- Efficient to install (because good design still has to be buildable)
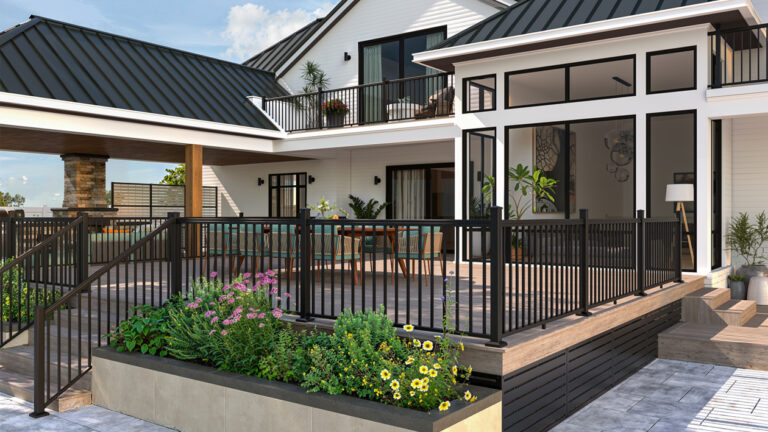
That’s why I loved working with RDI Elevation® Rail on The Perch. The clean horizontal lines fit the architecture and keep your eye moving outward. And the system allowed us to plan the details in a way that made installation fast and secure—whether we used the matching posts or tied into columns (we actually did both).
Matching railing style to each home’s personality
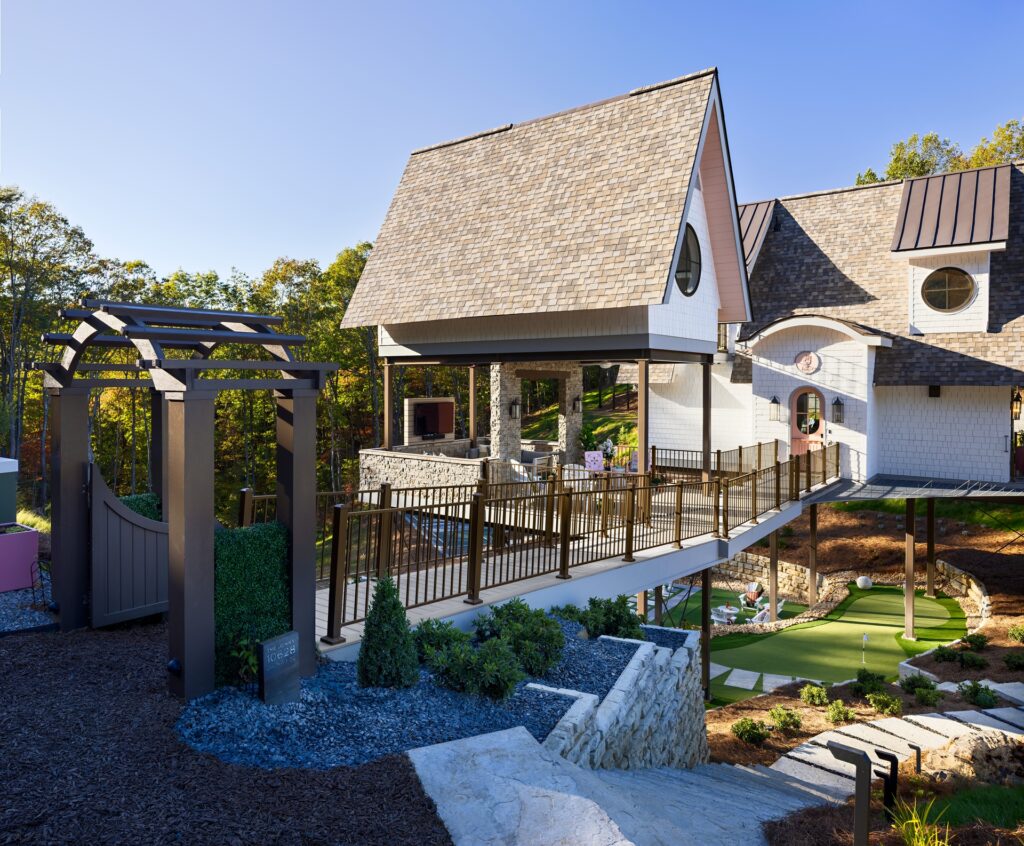
One of my favorite parts of this project is that the three treehouses aren’t carbon copies. They each have their own identity and design personality. That opened the door for us to mix railing approaches while keeping a cohesive overall look:
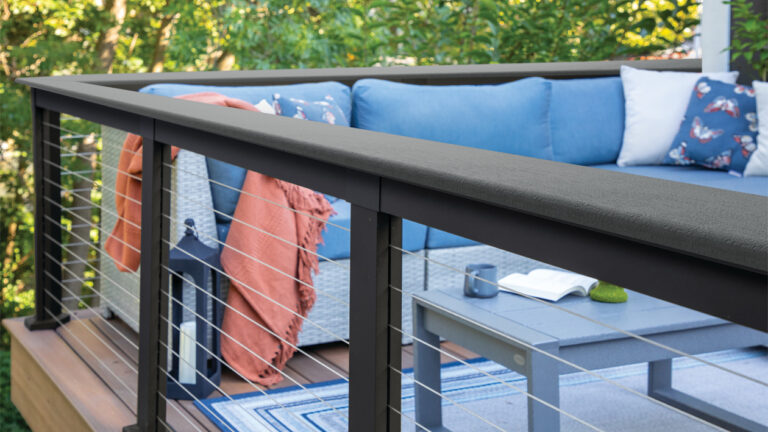
- On The Tom and The Jake, we leaned into RDI’s Elevation® Rail cable railing to keep things modern, crisp and view-forward.
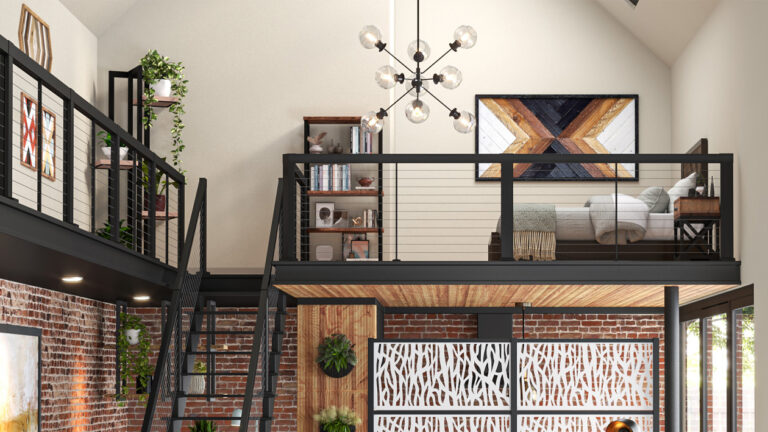
- On The Jenny, we brought in a more classic, vertical look of RDI’s MetalWorks Excalibur® steel railing with a hammered texture that really rewards you when you’re up close.
That second point matters more than people think. Railing is one of those elements that’s both big-picture and hand-level. It has to look great from 50 feet away and feel great the moment you put your hand on it.
Installation is part of design (whether people admit it or not)
A railing can look perfect on paper and still be a problem if it’s painful to install. I’m a big believer that the best products respect the installer. If it’s easier for a pro, it’s going to be easier for a DIYer. If it’s harder for the pro, it will cost more to install—and forget DIY. To top it off, when a system is intuitive, it installs cleanly without endless improvisation… meaning, you get a better end result.
Here’s what I found with the RDI Railing we worked with for this project:
- Excalibur’s prefabricated sections helped preplan needs
- Elevation’s pre-assembled kits significantly reduced installation time
- Secure mounting saved time and reduced risk
- Both systems stay true and straight as you install
And on elevated builds, that last part matters even more. The last thing you want is to “figure it out” 20 feet up.
Pro tip: railing starts under the deck
Here’s the part most people overlook: railing performance is only as strong as what it’s anchored to. You have to plan the structure for it precisely. You need the right blocking, the right beam structure, and a clear plan for how you’re mounting—top-mount or fascia-mount on the bottom, post-mount or column-mount up top. Those choices affect sightlines, aesthetics, and the engineering underneath. Do it right, and the result is a railing system that disappears visually.
For this installation, we mounted the railing through the decking into the beams below with 7” lags. We then clad the underneath with cement-fiber board for a clean look. Up top, most sections of railing are mounted to matching posts for a coordinated aesthetic.
Pairing railing + decking: one story, two surfaces
Railing doesn’t live alone. It’s part of a system, especially when you’re designing outdoor living at scale. If you want outdoor living to feel intentional, design these two elements together from the start. At The Perch, we paired RDI railing with composite decking to make sure the full experience matched the vision.
For The Tom, we chose a wood composite decking that offers dramatic shadows and a more rusticated texture that paired with the masculine design of that home. The Jake and The Jenny have more feminine lines, so we chose a decking solution which features a smooth, tighter grain and a change-up in color offerings.
Together, the railing and decking pairings informed the exterior color choices and created a cohesive “finished” look without feeling over-designed.
The best railing is the one you never question
In the end, when you’re standing in the mountains—coffee in hand, looking out over the trees—you don’t want to think about the railing. You want to trust it, feel it, and forget it’s even there.
That’s what we were chasing at The Perch. And that’s what I love about getting railing right early. When the railing is right, it makes the entire project feel more confident, more refined, and more complete.
Related Content
-

10 Stylish Railing Trends for Your Outdoor Space
If you’re seeking inspiration for a decking project or patio remodel, considering what style best …
-
Who’s Ready for a Cocktail Rail?
If you love to host sunset happy hours, dance parties under the stars and impromptu …
-
Glass Railing for an Infinite View
If the surrounding scenery is impressive, chances are you want a deck or terrace railing …
-
Best, Easiest Cable Railing Systems for Pros and DIYers
Cable railing is one of the most-requested railing styles for decks, patios, balconies and stairs. …